When we bought our pop up camper, a 1994 Coleman Destiny Royale, we knew we wouldn’t be able to make any trips anytime soon. We weren’t in a position to be able to travel and both worked full time, so we had to work on it slowly, mostly on the weekends.
It was in relatively good shape and only needed minimal repairs, but we wanted to make it more homey. Okay, I admit, it was mostly me, since my hubby really just needs a bed, food, and coffee, but he humors me.  We also wanted to make some mods that would provide more convenience while camping. My favorite color is red, my hubby’s fave is blue, and we’re both Disney/Mickey fans–so that became our decorating theme. We named our PUP “Minnie,” because our dog’s name is already Mickey.
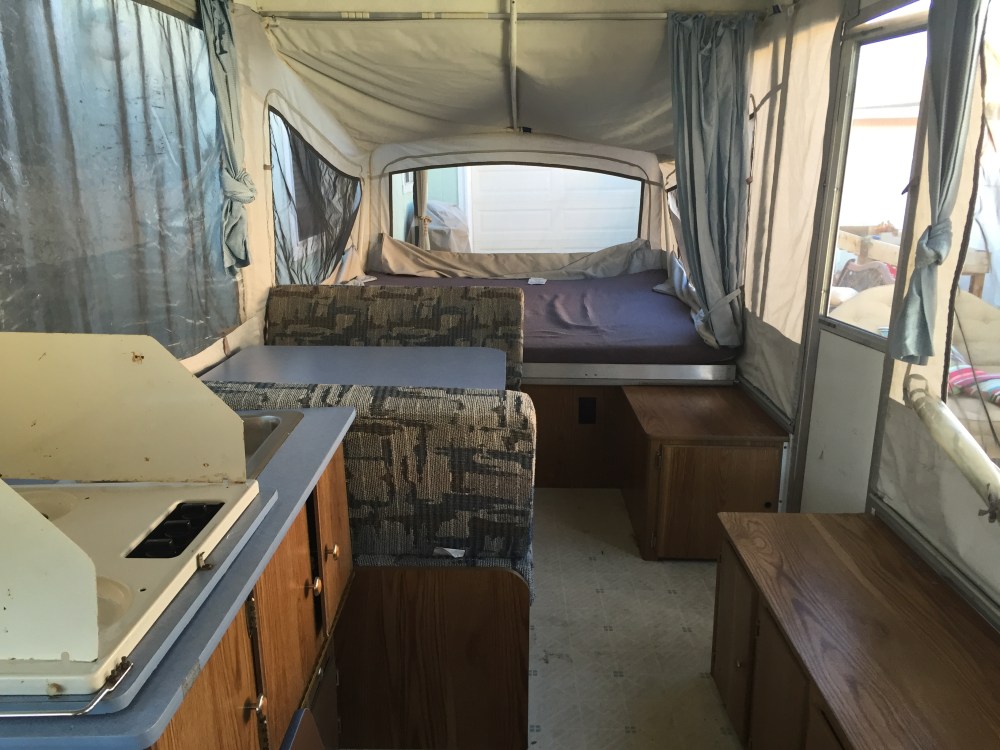
Thankfully my hubby is a handyman, so he was able to do all the repairs, plus all the “honey-do” requests I had. We really can’t take credit for any new modification ideas, since nearly every idea we found was on www.thepopupprincess.com
The vinyl windows had a dull film and black marks. I used ProtectAll and highly recommend it. http://amzn.to/2wTlWSl The pic below shows “before” on the right and “after on the left. (View through the screen)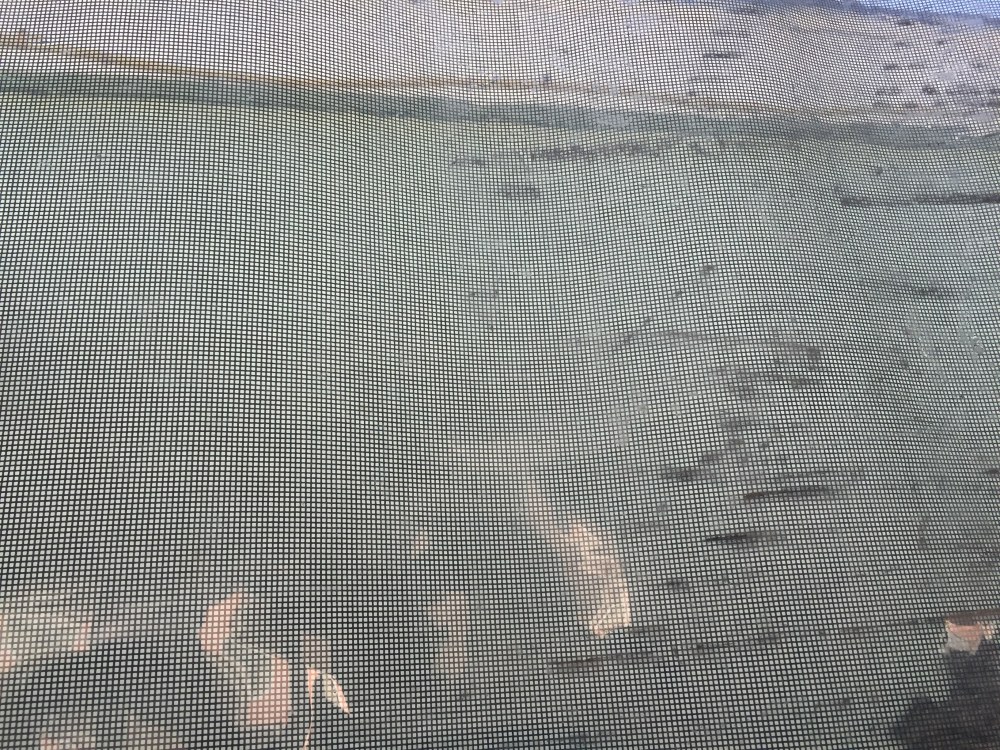
The canvas was in great shape but just needed a little clean up and I wanted to give it a coat of waterproofing. I used regular Woolite to clean the fabric and 303 Fabric Guard to waterproof it http://amzn.to/2uz6TRa
I painted all of the cabinets which took three coats of paint. We removed the doors and drawers to paint them, and added new inexpensive knobs. My husband put in the vinyl “wood” flooring, which I love.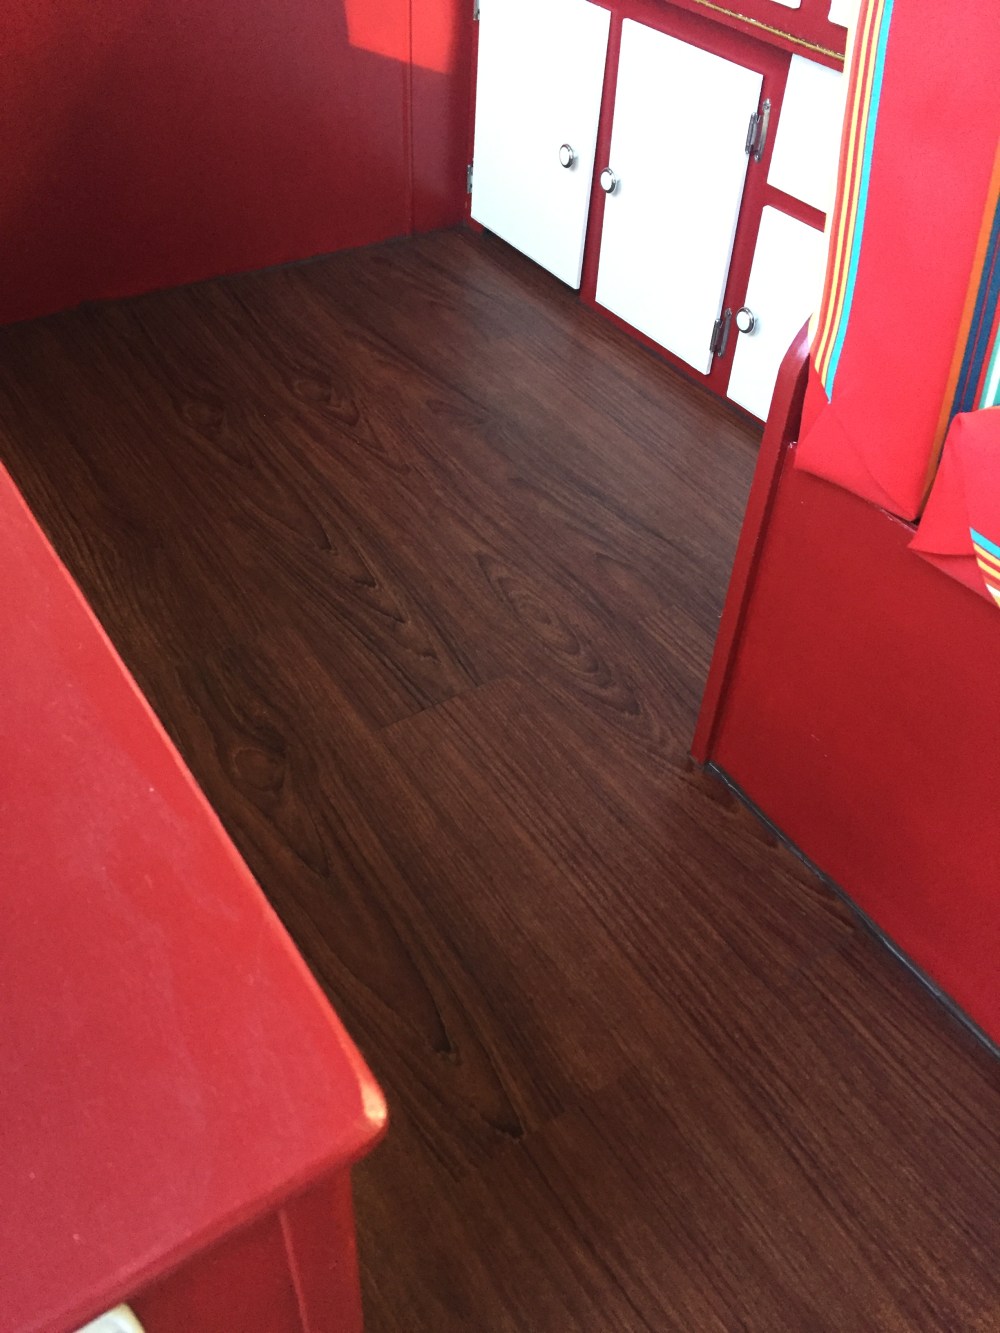
I really didn’t know how to sew AT ALL, but I bought a used machine on Craigslist and read a lot of tips online. I’d like to say it was easy, but it wasn’t! There was a huge learning curve. (“Oh! You have to adjust the tension on the machine when using heavier fabric? Oh! There’s a tension adjustment on the bobbin too? You get the picture… ;-( ) I wanted to have mesh fabric on the bed curtains for ventilation and was going to use white, but when I found the red in the clearance section, I had to go with it! It was very challenging overall, but I’m happy with the results and proud of myself for hanging in there.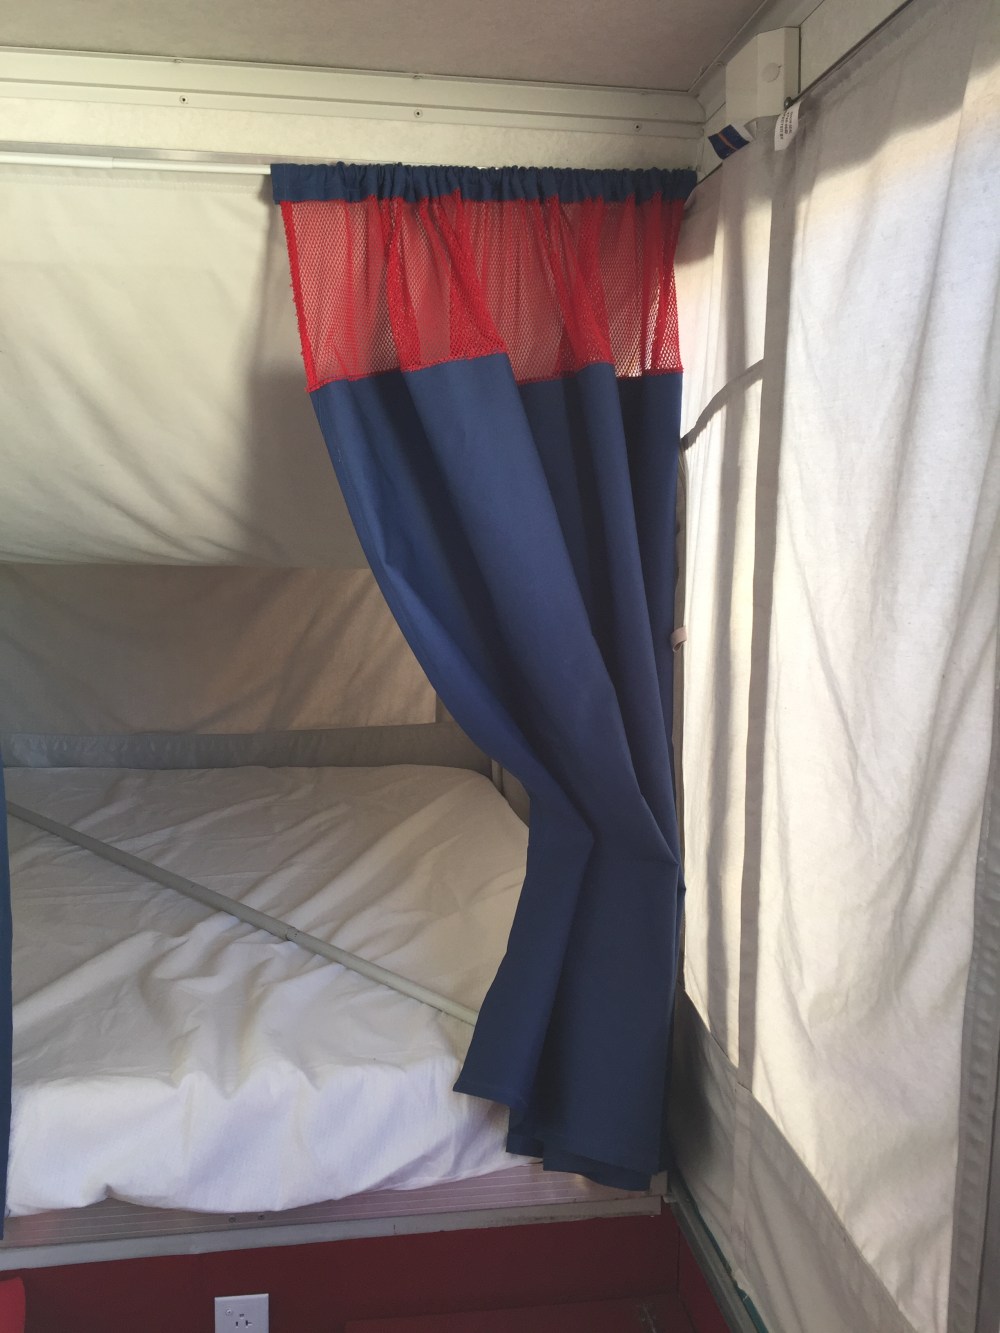
The curtains are made from duck cloth, and the valances are outdoor fabric. I hunted down the best deals I could find–I love coupons! I attached the valances with Velcro. Did you know they sell Velcro that has adhesive on one side and non-adhesive on the other? I was originally told it didn’t exist so I was going to go another route until I learned this. The adhesive side went on the existing valance rail, and non-adhesive was sewn onto the fabric. It worked perfectly.
The curtains over the bed are hung with a tension rod (*see edit below. This method didn’t work long term and I found a better solution), but the curtains over the windows were trickier. We used a metal conduit pipe and clips that my hubby bent and slid in to the existing rail. I don’t care what it looks like because it doesn’t show under the valances. We are able to leave them up when closing the PUP, so it worked great.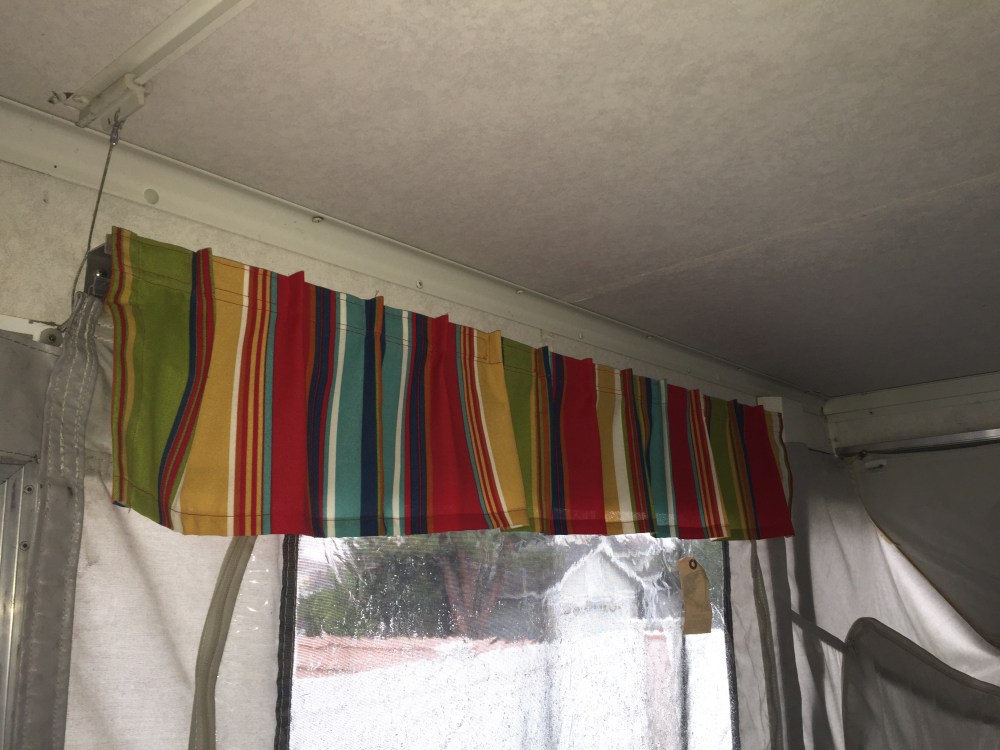
For the dinette cushions, I went with a no-sew method. I used decorative white upholstery nails, which you can see on the back of the cushion. I left the original fabric on to provide extra cushioning, since it was in pretty good shape.
The hubby also modified the potty cabinet, so it now has a hinged top that I can just lift to use. I bought a blue and red curtain that I plan to attach to the roof with Velcro for privacy when the boy is with us.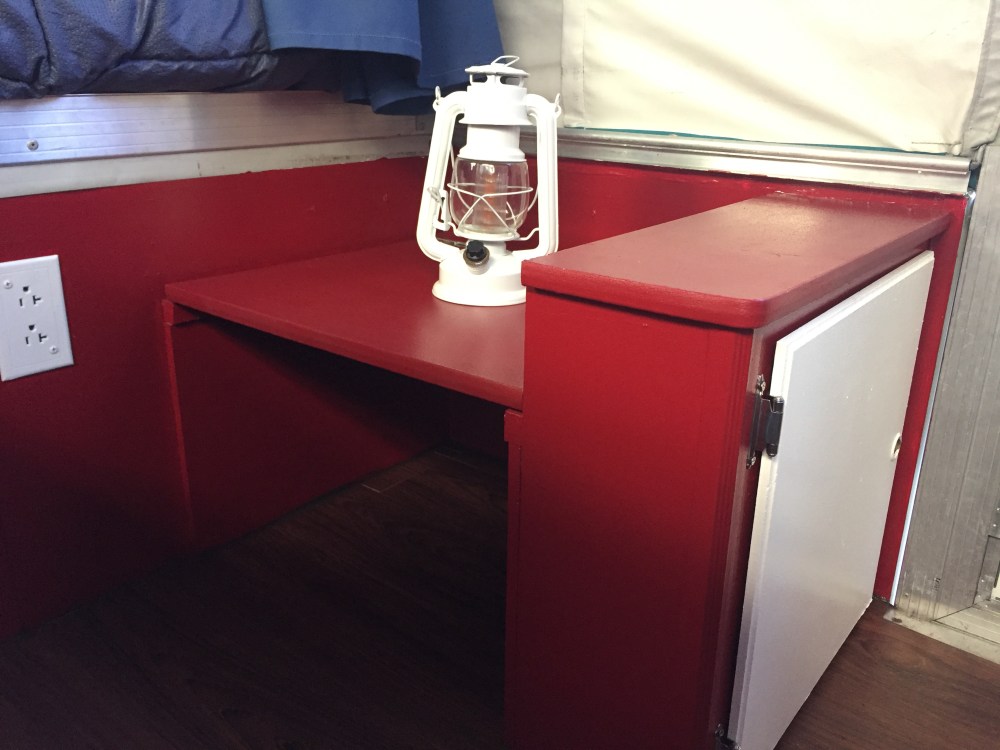
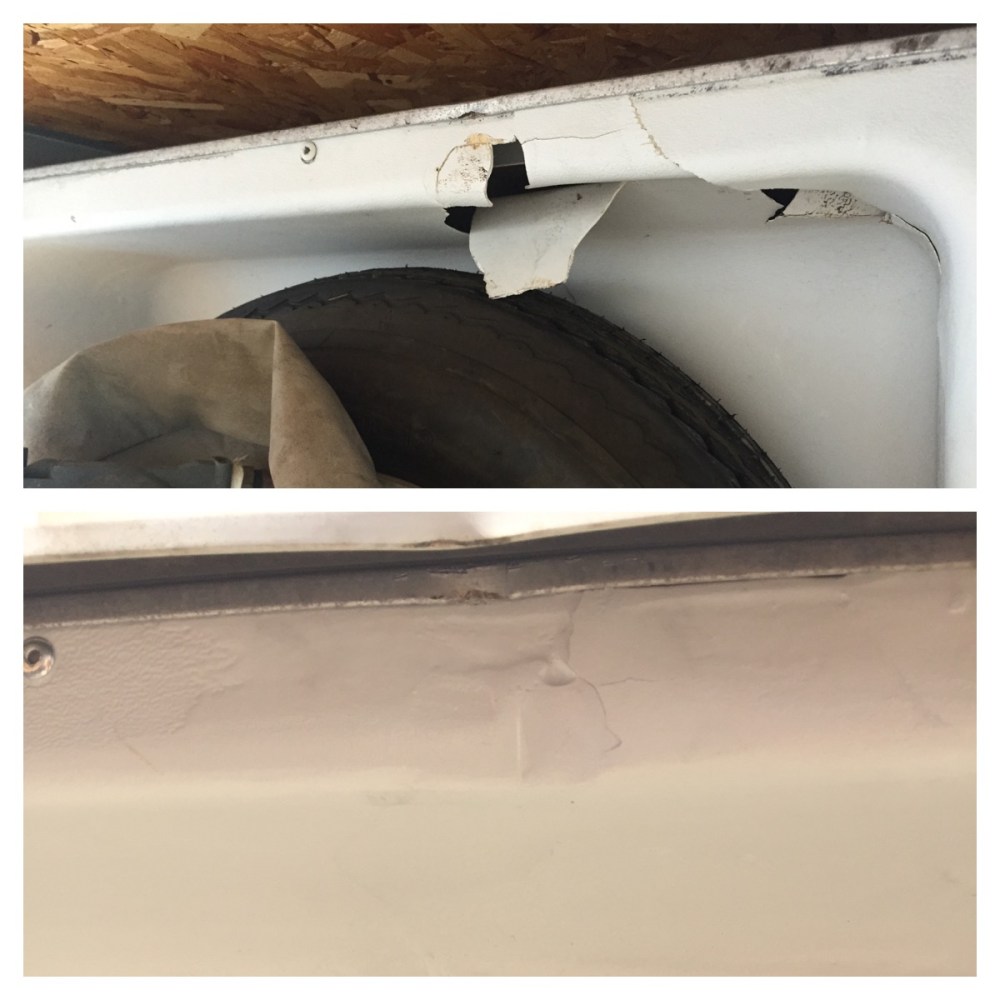
There were also two places on the body that needed repair. One was more difficult than the other because there was missing fiberglass, but I think my hubby did a great job. You can barely tell it was ever cracked. Here are the before and afters: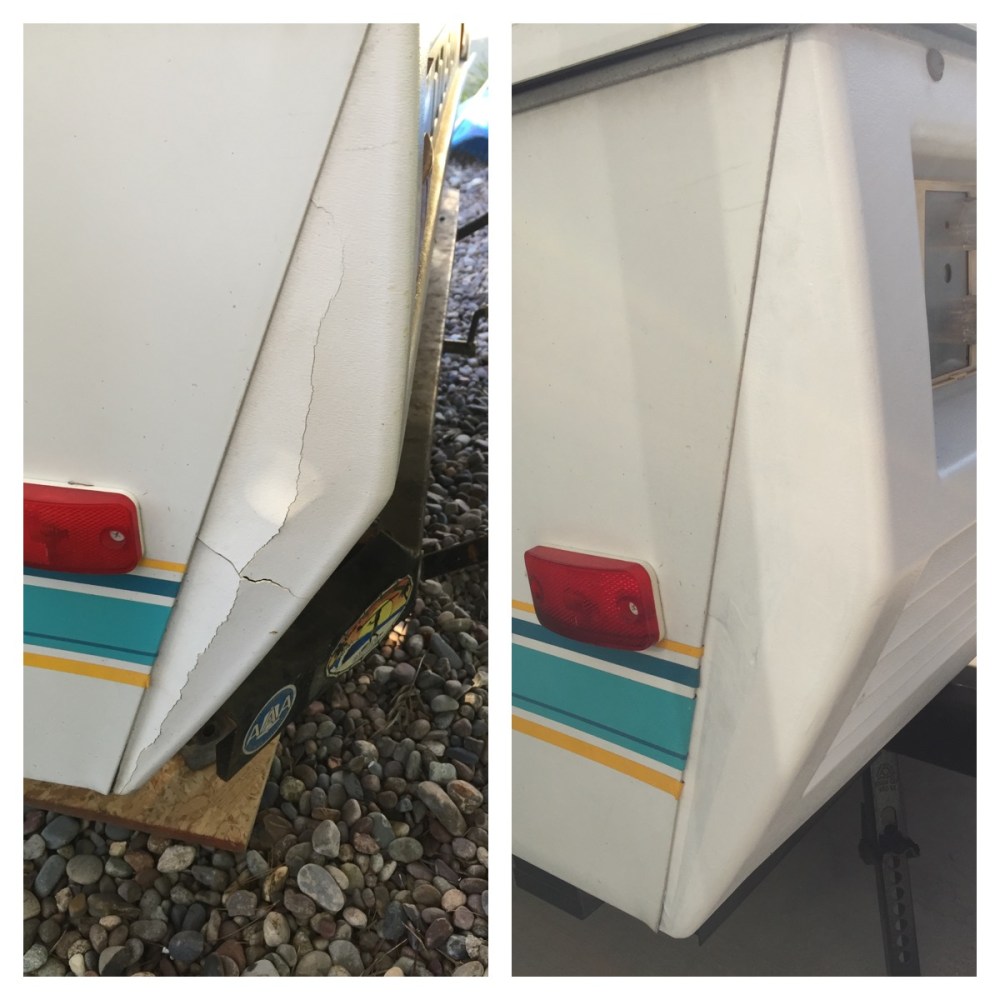
My hubby did a lot of other updates on the outside, like painting the roof and replacing the screen on the door. We also took out the stove since we didn’t plan to cook inside, and he made a new countertop. Rather than paint the original table (with a slick finish which we suspected would not hold paint), he also made a new table and painted it red.
We also added a shelving unit mod over the sink, a “box” over the wheel cover which gave a bit more storage (pic below), towel racks under the bunks (below),


and few other conveniences. Practically all of the “comfort” mod ideas came from ThePopUpPrincess Please check out her blog! In addition to these ideas, she and her husband have great tips on maintenance, upkeep, and even blogs about their trips.
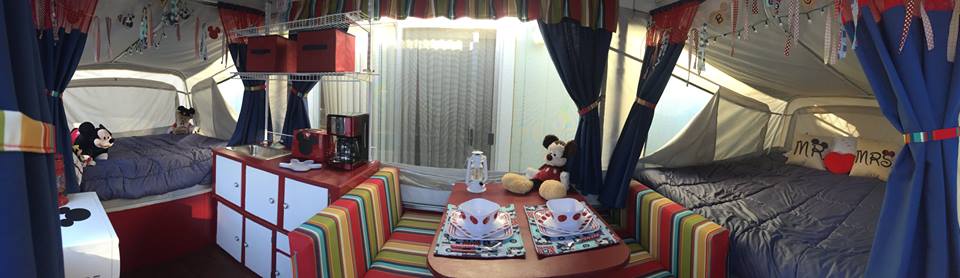
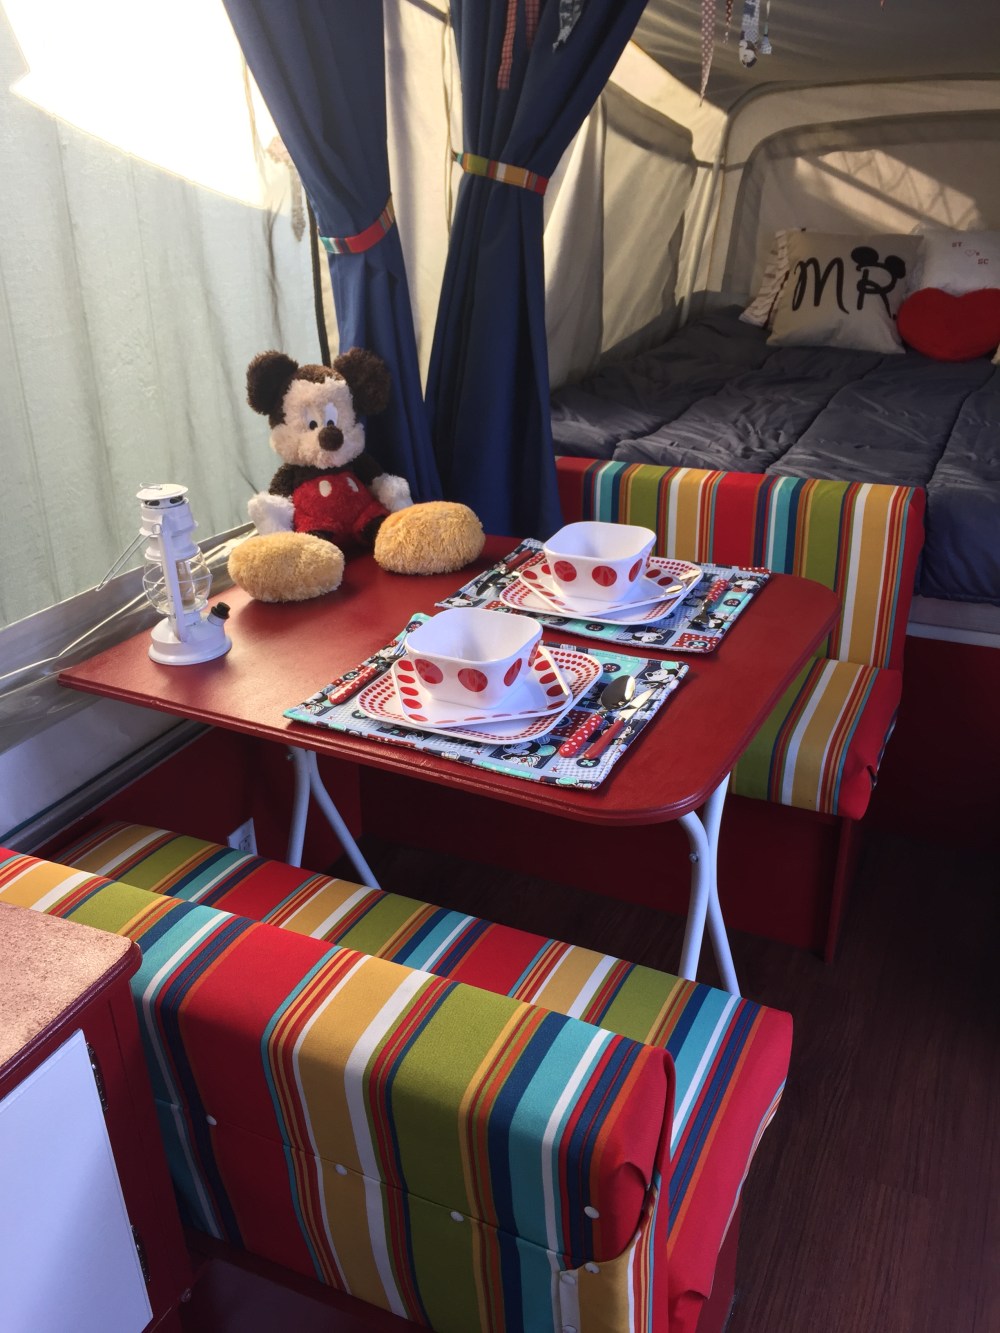
Here are a few more pics of the finished product! Yes, they are “staged” and it likely won’t look like this all the time on the road, but it sure was fun!

You’ll find lots of cute pillow covers on Amazon. I went back and bought this one later! http://amzn.to/2vPy1eq

Honestly, buying little things for the PUP to make camping easier was a lot of fun! Anything collapsible saves a lot of space. Here are a few of my favorite things:
-
- 3 Qt. Squish Bowl http://amzn.to/2vvedfx
- 5 Qt. Squish Bowl http://amzn.to/2vuvTaP
- Collapsible Measuring Cups, similar to these http://amzn.to/2fDrtZQ
- Dish Drainer http://amzn.to/2fD2nKz
- I even bought these collapsible DOG bowls! They’re great when you’re out hiking or exploring because you can attach them to your belt or backpack with a carabiner. http://amzn.to/2fCa049
Yes, I shop on Amazon on lot! I just find it to be very convenient, and since I have Amazon Prime, I can get things in just 1-2 days, which is really great when you’re leaving for a trip.
My husband LOVES his coffee and we love the PrestoMyJo single cup coffee maker because you don’t need electricity and it works with Keurig pods. Just add hot water and pump it right into your mug. He was skeptical at first but uses a lot! http://amzn.to/2vsZZvl
Now all we need to do is hit the road! Thanks for visiting!
*Edit regarding the curtains over the beds. The tension rods just didn’t work well. I had to replace them twice because they got bent. I had made the curtains a little longer than the original ones which was also a bad idea because inevitably someone would kneel on them, which pulled on the curtains & rod, bending the rod. After a little more research I found another method that worked perfectly with the existing curtain rail.
I bought these snaps on a strip that you sew on ( http://amzn.to/2wTnDPJ ) and also these clips ( http://amzn.to/2wTcyOn ) that will clip right on to the existing rail, allowing our curtains to slide more easily, just like the originals. You just have to make sure you’re buying the right clips for your camper, and Amazon does sell several kinds. These are the ones I used for our Coleman. I wished I had done this originally!

Thanks so much for the mention! ❤️
LikeLike
Love what you did with your pop up camper! So colorful and fun, what a difference you made.
LikeLiked by 1 person
Thanks, it was fun!
LikeLike